
- Schritt-für-Schritt Tutorials
- 49 views
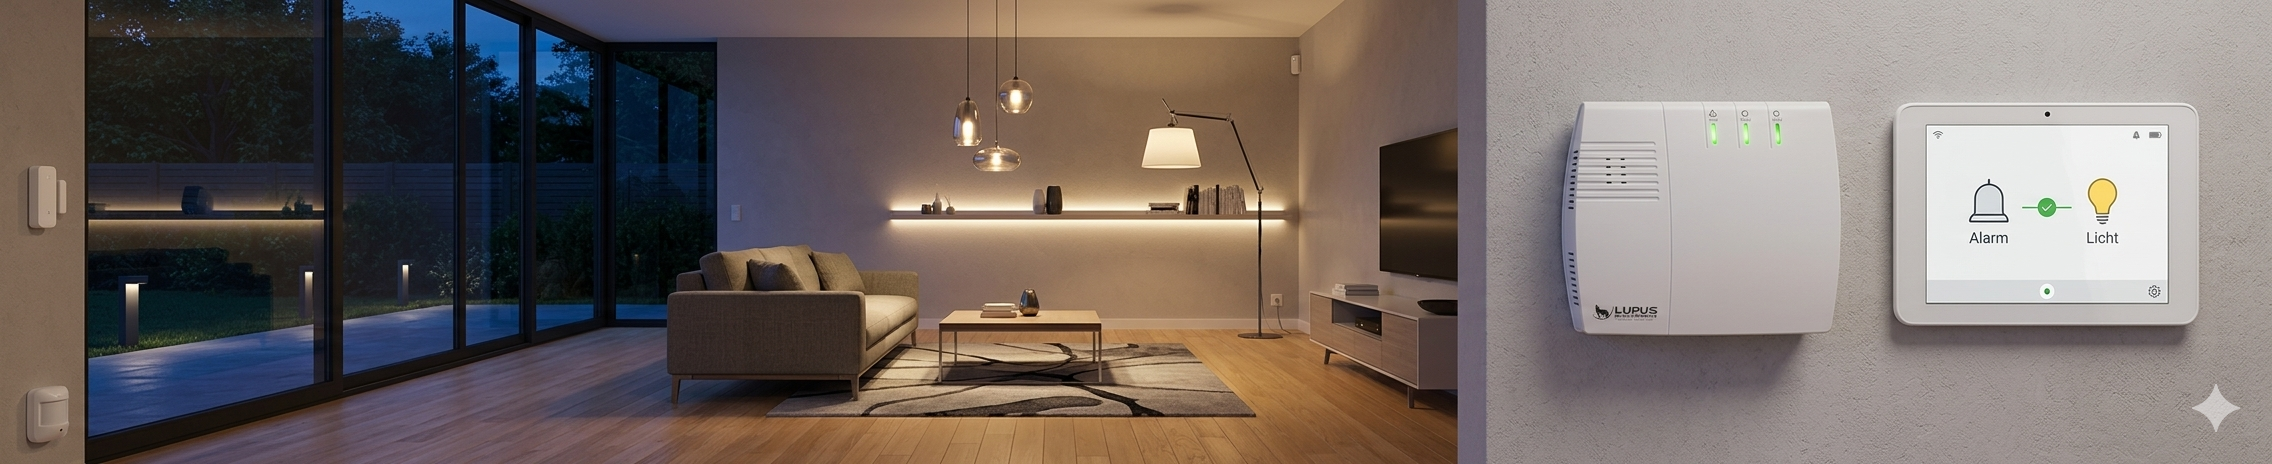
Compatible smart light bulbs such as Philips Hue, Osram Smart+, IKEA Tradfri and similar ZigBee lights can be integrated directly into the LUPUS XT SmartHome system and controlled through automations.
The following guide explains the complete setup step by step.
Preparing the Smart Light Bulb
Disconnect the smart light bulb from its previous gateway or control device according to the manufacturer’s instructions.
This may include systems such as:
- Philips Hue Bridge
- IKEA Gateway
- Alexa ZigBee Hub
- Google Home
- other ZigBee systems
Afterwards, reset the light bulb to factory defaults if required.
Adding the Light Bulb to the LUPUS XT
Add the smart light bulb to the LUPUS SmartHome system according to the manual.
Open the following menu:
Sensors → Add → Add SensorsClick:
STARTNow switch on the smart light bulb.
The device will automatically be detected and can then be added to the system.
Assign a suitable name, for example:
- Living Room Light
- Kitchen LED
- Hallway Hue
- Terrace RGB
Controlling the Light Bulb
After successful integration, the smart light bulbs can be controlled directly through the LUPUS SmartHome system.
Open:
SmartHome → Wireless SwitchesThere you can:
- turn lights on and off
- adjust brightness
- change color values
- define RGB colors
- use dimming functions
Creating an Automation for Smart Lights
The LUPUS XT allows smart light bulbs to be controlled automatically based on schedules or events.
Example – Automatically Turning Lights On
Open the automation menu:
SmartHome → Automation → RulesCreate a new rule.
Condition
ScheduleSchedule
Every Day → 08:15 PMAction
Set LampThen select:
Light Bulb XYand configure:
- Turn On
- Brightness / Level
- Duration
- Color Value ON
- desired color
Adding Additional Light Bulbs
Using:
Add Actionyou can include up to 9 additional smart light bulbs and control them simultaneously.
This allows easy creation of:
- complete room lighting
- light groups
- RGB scenes
- presence simulations
Activating the Profile
Assign the created rule to an active automation profile.
Open:
SmartHome → Automation → ProfilesActivate the desired profile.
Result of the Automation
The rule causes the selected smart light bulb to:
- automatically switch on every day at 08:15 PM
- use a predefined brightness level
- activate with a specific color value
- optionally switch off again after a defined duration
Creating an Automatic OFF Rule
If desired, you can also create a second rule to automatically switch the lights off again.
Open:
SmartHome → Automation → Rulesand create another new rule.
Condition
ScheduleSchedule
Every Day → 10:15 PMAction
Set LampThen select:
Light Bulb XYand configure:
- Turn Off
- Duration
- Color Value OFF
Adding Additional Smart Lights
Using:
Add Actionyou can also add additional smart light bulbs to this automation.
Activate the Profile
Assign this rule as well to an active profile:
SmartHome → Automation → ProfilesResult of the OFF Rule
The rule causes the selected smart light bulbs to automatically switch off every day at 10:15 PM.
Typical Use Cases
Smart light bulbs combined with the LUPUS XT allow many automation scenarios, including:
- automatic evening lighting
- presence simulation
- alarm lighting
- night lighting
- RGB light scenes
- hallway lighting triggered by motion
- lighting control during arm/disarm events
- automatic garden lighting
Important Note
Depending on the manufacturer and firmware version, functions such as:
- RGB color control
- dimming
- color temperature
- scene control
may vary in compatibility and functionality.